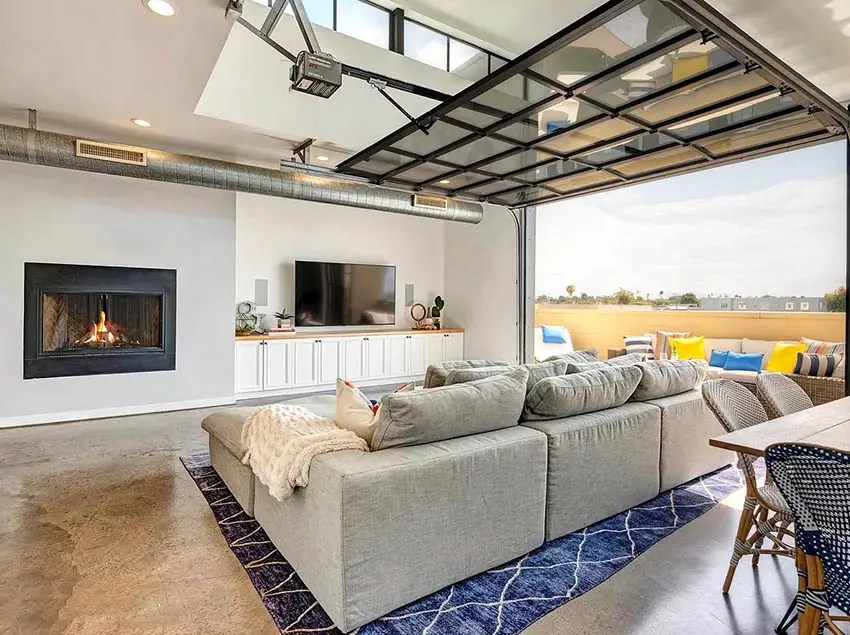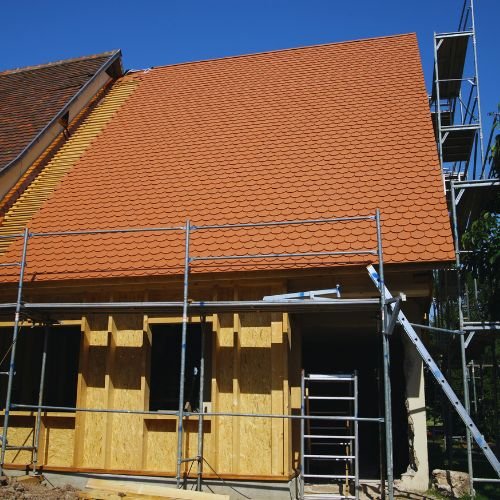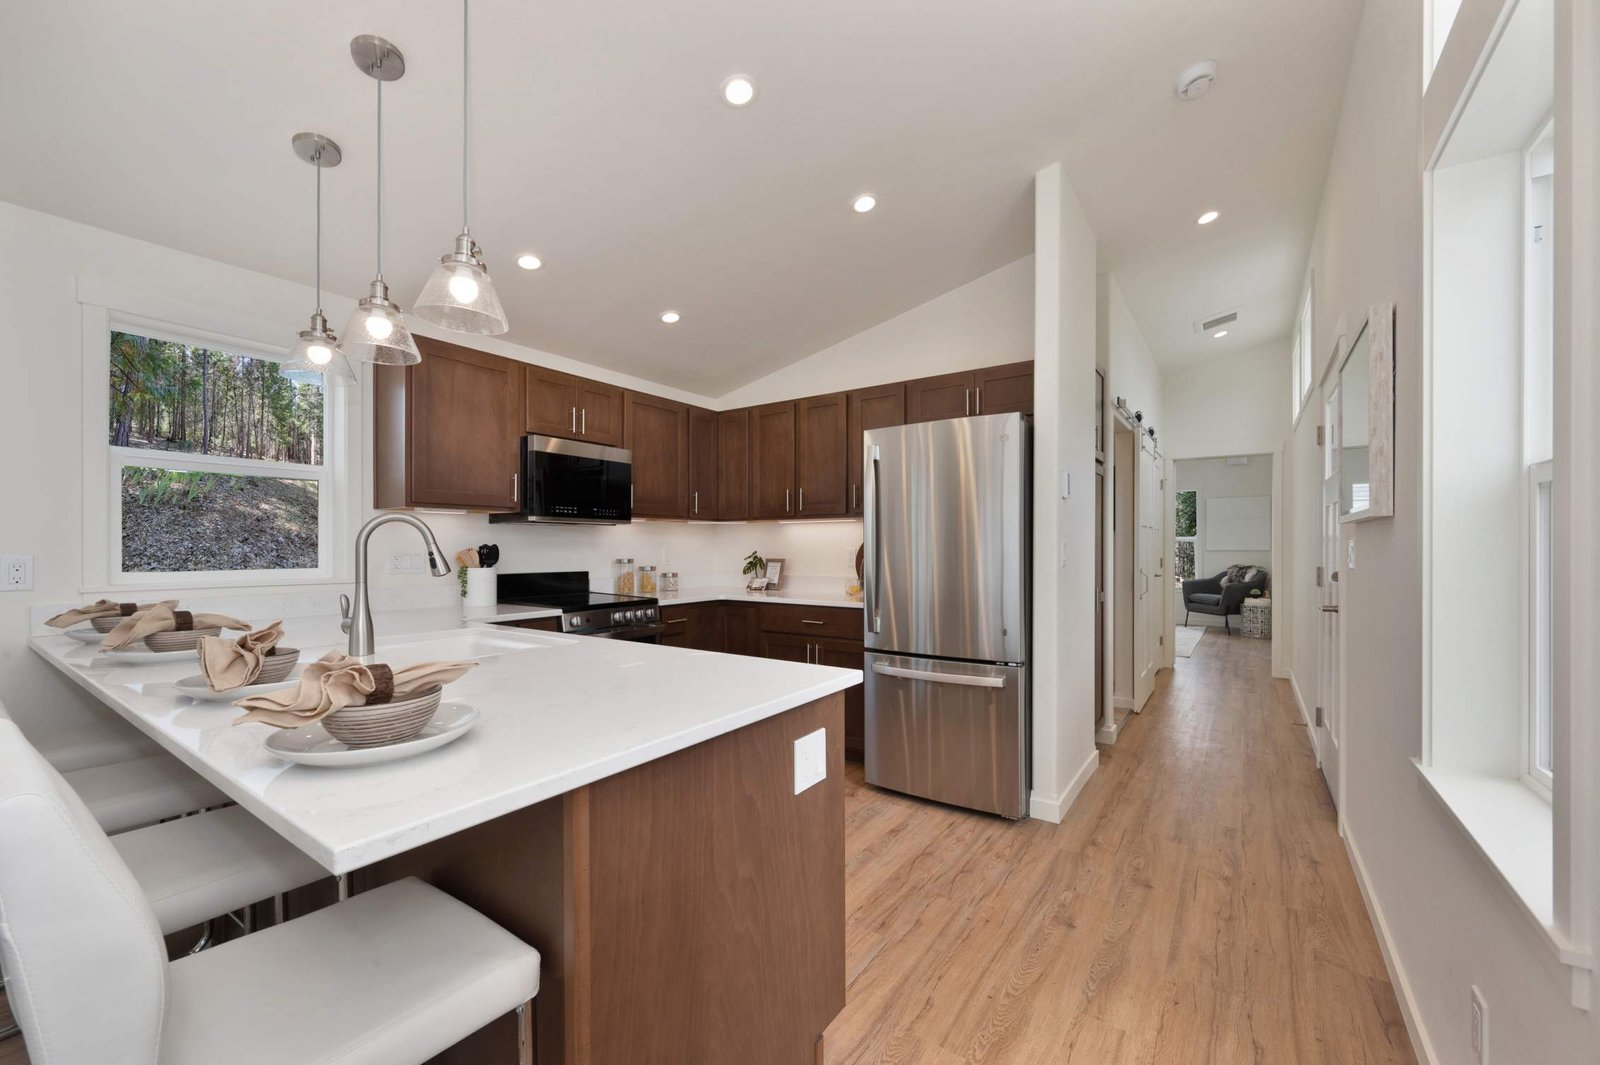
In recent years, Accessory Dwelling Units (ADUs) have gained immense popularity as a versatile solution to various housing challenges. Whether you’re looking to create additional living space for aging parents, generate rental income, or increase your property value, an ADU offers numerous benefits.
You may be wondering, “Can I build my own ADU?” The short answer is: yes, with careful planning and adherence to local regulations.
An ADU is also known as a:
- Granny flat
- In-law suite
- Backyard cottage
- Secondary dwelling unit
An accessory dwelling unit (ADU) is a self-contained living space that shares a lot with a primary dwelling unit. ADUs come in three main types:
- Detached ADU
- Attached ADU
- Conversion of existing spaces (e.g., existing garage conversion)
| ADU Type | Description | Typical Size |
|---|---|---|
| Detached | Standalone structure | 400-1200 sq ft |
| Attached | Connected to main house | 300-1000 sq ft |
| Conversion | Repurposed existing space | Varies |
This guide will walk you through the process of building your own ADU, from navigating zoning laws and obtaining necessary permits to managing construction costs and maximizing your investment. Let’s embark on this exciting journey of creating additional living space on your property!
Understanding ADU Regulations: Navigating the Regulatory Landscape
Let’s dive into the world of ADU regulations. While it might seem daunting at first, understanding these rules is crucial for a successful DIY ADU construction project. Think of it as laying the foundation for your dream accessory dwelling unit.
Local Zoning Laws: The Framework of Your ADU Project
First and foremost, we need to familiarize ourselves with local zoning laws. These regulations vary significantly from one jurisdiction to another, so it’s essential to do your homework.
To get started:
- Review your city’s website for ADU-specific regulations
- Schedule a visit to your local planning department
- Inquire about recent changes to ADU laws (they’re often evolving)
Understanding these laws will provide a solid foundation for your project and help prevent costly mistakes down the line.
Types of ADUs: Exploring Your Options
ADUs come in several forms, each with its own set of considerations:
| ADU Type | Description | Key Considerations |
|---|---|---|
| Detached ADU | Standalone structure in your yard | Setback requirements, utility connections |
| Attached ADU | Connected to your main house | Shared walls, integration with existing structure |
| Conversion ADU | Repurposing existing space | Building code compliance, potential loss of space |
Your choice will depend on your property layout, budget, and local regulations. Consider each option carefully to determine the best fit for your needs.
Size Restrictions: Finding the Right Balance
Most jurisdictions have specific size limitations for ADUs. These typically include:
- A percentage of the primary dwelling’s living area (often 50%)
- An absolute maximum square footage (usually 800-1200 sq ft)
- A minimum size requirement (around 150 sq ft)
It’s crucial to verify these details with your local planning department, as they can significantly impact your design plans.
Setback Requirements: Respecting Boundaries
Setbacks determine the minimum distance between your ADU and property lines, other structures, or natural features. Common setback rules include:
- 5-15 feet from property lines
- 10-20 feet from the main house (for detached ADUs)
- Special considerations for corner lots
These requirements ensure adequate space between buildings and maintain neighborhood aesthetics.
Parking Considerations: Addressing a Common Concern
Parking is often a critical factor in ADU approval. Requirements may include:
- Additional off-street parking spaces
- Replacement parking if converting a garage
However, many cities are relaxing these requirements, especially in areas well-served by public transit. Check with your local authorities for the most up-to-date information.
Environmental Factors: Sustainable Development
Environmental considerations are increasingly important in ADU regulations. Depending on your location, you may need to address:
- Tree protection ordinances
- Stormwater management
- Energy efficiency requirements
- Special considerations for coastal zones, flood plains, or fire-prone areas
These regulations ensure that your ADU is not only compliant but also environmentally responsible.
Planning Your ADU Project: From Concept to Blueprint
Now that we’ve navigated the regulatory landscape, it’s time to focus on planning your ADU project. This phase is crucial as it lays the groundwork for a successful build. Let’s break down the key elements of planning your accessory dwelling unit.
Determining the Purpose of Your ADU
The first step in planning is to clearly define the purpose of your ADU. This decision will influence every aspect of your project, from design to budget. Consider the following common purposes:
- Housing for aging parents or family members
- Rental unit for additional income
- Home office or workspace
- Guest accommodation
Each purpose comes with its own set of considerations:
| ADU Purpose | Key Considerations |
|---|---|
| Aging Parents | Accessibility features, proximity to main house |
| Rental Units | Local rental regulations, separate utilities, privacy |
| Home Office | Internet connectivity, sound insulation, natural light |
| Guest House | Flexible space, storage options, amenities |
Assessing Your Property’s Suitability
A thorough evaluation of your property is essential. Consider the following factors:
- Available space: Ensure there’s sufficient room for the ADU without overly compromising outdoor areas
- Topography: Assess any grading or leveling needs
- Existing structures: Evaluate potential for conversion (e.g., garage to ADU)
- Utility access: Determine the feasibility of connecting to existing water, sewer, and electrical lines
Tip: Create a detailed site plan. This will be invaluable for both planning and permitting processes.
Creating a Budget
Developing a comprehensive budget is crucial for project success. Here’s a breakdown of typical costs:
- Construction costs: Generally range from $100 to $500 per square foot, depending on location and specifications.
- Permit fees: Budget $5,000 to $15,000 for various permits and inspections.
- Utility connections: Allocate $5,000 to $10,000 for connecting to existing systems or installing new ones.
- Design and engineering: Expect to invest $3,000 to $8,000 for professional services.
- Contingency fund: Set aside 10-20% of your total budget for unforeseen expenses.
Visual representation of a typical ADU budget:
ADU Budget Allocation
Construction (70%) ████████████████████████████████████
Permits (10%) ████
Utilities (8%) ███
Design (7%) ███
Contingency (5%) ██
DIY vs. Hiring Professionals
Deciding between a DIY approach and hiring professionals is a critical decision. Consider these factors:
DIY Approach:
- Advantages: Potential cost savings, personal satisfaction, complete control
- Challenges: Time-intensive, risk of errors, steep learning curve
Professional Services:
- Advantages: Expertise, time efficiency, potentially superior results
- Challenges: Higher upfront costs, less direct involvement
Many successful ADU projects combine both approaches, with homeowners managing some aspects and professionals handling more complex tasks.
Timeline Considerations
Establishing a realistic timeline is essential for managing expectations and resources. Here’s a general timeline for ADU projects:
- Planning and design: 1-3 months
- Permitting process: 2-6 months
- Site preparation: 1-2 weeks
- Construction phase: 3-6 months
- Final inspections and approvals: 2-4 weeks
Note that timelines can vary significantly based on local regulations, project complexity, and unforeseen circumstances.
Pre-Construction Checklist
Before commencing your construction project, ensure you’ve completed the following:
- Finalize ADU purpose and design specifications
- Secure necessary financing
- Obtain all required permits and approvals
- Select and schedule contractors (if applicable)
- Prepare the construction site
- Inform neighbors of upcoming construction activity
Design and Pre-Construction Phase: Translating Vision into Reality
Welcome to the design and pre-construction phase, where your ADU concept begins to take tangible form. This crucial stage sets the foundation for a successful build, balancing aesthetics, functionality, and compliance. Let’s explore the key elements of this phase.
Architectural Design Options: Crafting Your ADU’s Identity
Your ADU’s design should harmonize with your primary dwelling while meeting your specific needs. Consider these popular approaches:
- Contemporary Minimalism: Sleek lines and efficient use of space
- Traditional Complement: Echoing the main house’s architectural style
- Adaptive Reuse: Transforming an existing structure (e.g., garage conversions)
- Compact Innovation: Maximizing functionality in limited square footage
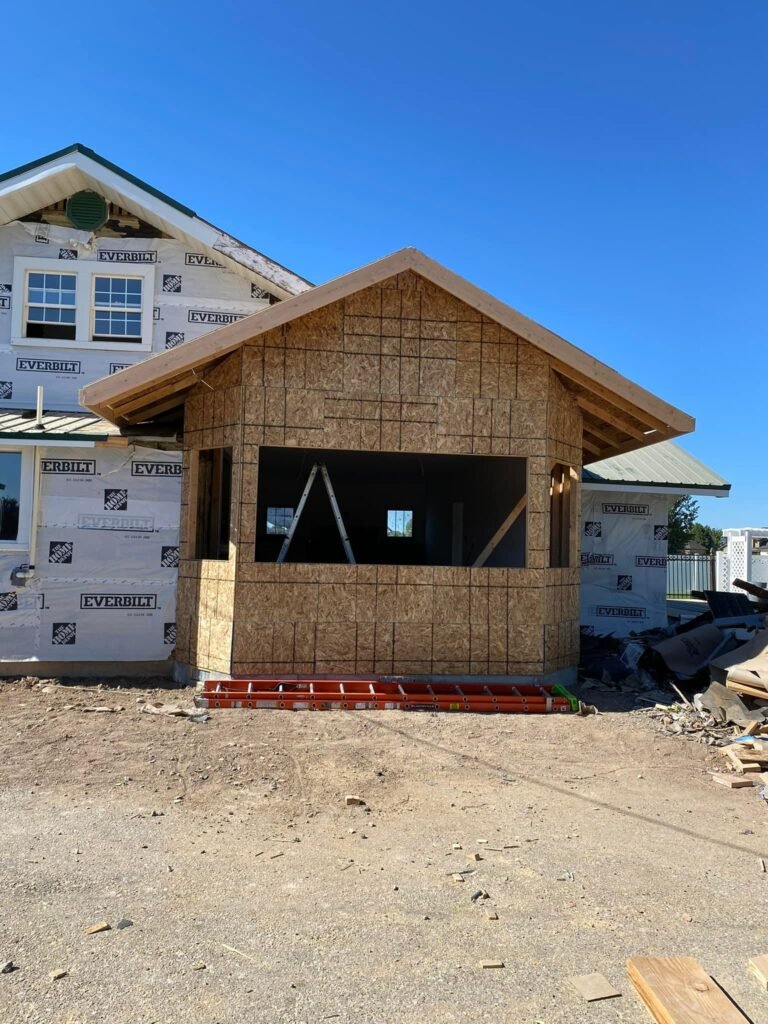
Remember, the goal is to create a cohesive property aesthetic while adhering to local design guidelines.
Selecting Materials and Fixtures: Balancing Quality and Budget
Choosing materials and fixtures requires careful consideration of durability, aesthetics, and cost. Here’s a comparative overview:
| Element | Budget-Conscious | Mid-Range | Premium |
|---|---|---|---|
| Flooring | Luxury Vinyl Tile | Engineered Hardwood | Solid Hardwood |
| Countertops | Laminate | Quartz | Natural Stone |
| Appliances | Standard Models | Energy Star Certified | Smart Home Integration |
Tip: Prioritize investing in elements that are challenging to upgrade later, such as flooring and insulation.
Energy Efficiency: Sustainable Design for Long-Term Benefits
Incorporating energy-efficient features can reduce operational costs and increase your ADU’s appeal. Consider these options:
- Solar panel installation
- High-efficiency HVAC systems
- Double or triple-pane windows
- LED lighting throughout
- Water-conserving plumbing fixtures
Many jurisdictions offer incentives for energy-efficient residential construction, potentially offsetting initial costs.
Accessibility Features: Designing for Inclusivity
Integrating accessibility features ensures your ADU can accommodate diverse needs and potentially increase its long-term value:
- 36-inch wide doorways
- Zero-step entries
- Reinforced bathroom walls for future grab bar installation
- Lever-style door handles
- Adequate turning radius in key areas
These features enhance usability for all occupants and futureproof your investment.
Navigating the Permitting Process: Ensuring Compliance
Obtaining necessary zoning permits is a critical step in the pre-construction phase. Follow these steps for a smoother process:
- Compile required documentation: Site plans, construction drawings, and relevant forms
- Submit your application: Ensure all materials are complete and accurate
- Await initial review: Be prepared for potential requests for additional information
- Address feedback: Promptly respond to any queries or requests for modifications
- Obtain approval: Once approved, keep all documentation readily accessible
Note that the permitting process duration can vary significantly based on your location and project complexity, typically ranging from several weeks to a few months.
Assembling Your Professional Team: Building Expertise
Unless you’re uniquely qualified, engaging professionals is crucial for a successful ADU project. Consider including:
- Architect or Designer: For creating detailed plans and ensuring aesthetic cohesion
- General Contractor: To oversee the entire construction process
- Electrician: For all electrical systems installation
- Plumber: To handle water and sewage systems
- HVAC Specialist: For heating, ventilation, and air conditioning needs
When selecting professionals:
- Verify licenses and insurance
- Check references and past project portfolios
- Ensure clear communication and alignment with your project goals
Construction Process: From Blueprint to Reality
Welcome to the construction phase, where your ADU transforms from a set of plans into a tangible structure. This stage is exciting, challenging, and rewarding. Let’s walk through the key steps of bringing your accessory dwelling unit to life.
Site Preparation: Laying the Groundwork
Proper site preparation is crucial for a successful build. This phase includes:
- Area clearing: Remove any obstacles, vegetation, or existing structures from the construction zone.
- Grading: Ensure the ground is level and properly sloped for drainage.
- Utility marking: Identify and mark existing utility lines to prevent accidental damage.
A well-prepared job site also sets the stage for efficient construction and helps avoid potential setbacks.
Foundation Work: The Bedrock of Your ADU
The foundation is critical for your ADU’s structural integrity. Common foundation types include:
| Foundation Type | Best Suited For | Key Advantages |
| Concrete Slab | Warmer climates, level ground | Cost-effective, quick installation |
| Crawl Space | Flood-prone areas, uneven terrain | Easier access to utilities |
| Basement | Colder climates, desire for extra space | Adds significant living area |
Your choice will depend on local building codes, climate, and personal preferences.
Framing and Structural Elements: Erecting the Skeleton
Framing gives your ADU its basic shape and structure. This phase includes:
- Wall framing
- Roof truss installation
- Floor joist placement (for raised foundations)
Proper framing ensures your ADU can withstand environmental stresses and support all finishing elements.
Electrical, Plumbing, and HVAC Installation: The Essential Systems
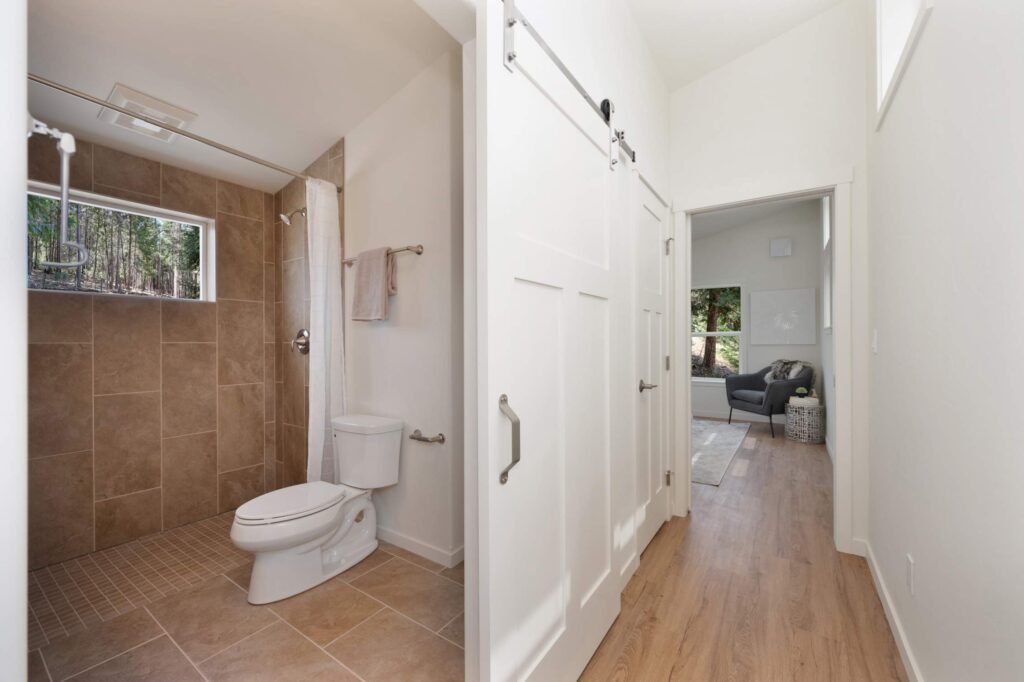
This stage involves installing the core systems that make your ADU functional:
- Electrical: Wiring for power, lighting, and communications.
- Plumbing: Water supply lines, drain pipes, and vent stacks.
- HVAC: Heating, ventilation, and air conditioning systems.
Careful planning and professional installation are crucial for safety and efficiency.
Insulation and Weatherproofing: Ensuring Comfort and Efficiency
Proper insulation and weatherproofing are key to energy efficiency and indoor comfort. Consider:
- Insulation options:
- Fiberglass batts
- Spray foam
- Cellulose
- Weatherproofing measures:
- Weather-resistant barriers
- Quality windows and doors
- Proper flashing and sealing
Investing in high-quality materials here can lead to significant long-term energy savings.
Interior Finishes and Fixtures: Bringing Your Vision to Life
This is where your ADU starts to feel like a home. Key elements include:
- Flooring installation
- Wall finishing (drywall, painting, tiling)
- Kitchen and bathroom fixture installation
- Lighting fixture placement
Choose materials and finishes that balance aesthetics, durability, and budget considerations.
Final Inspections and Occupancy Permits: Ensuring Compliance
Before your ADU can be occupied, it must pass several inspections:
- Structural inspection
- Electrical system inspection
- Plumbing system inspection
- Fire safety inspection
- Final comprehensive inspection
Upon passing these inspections, you’ll receive an occupancy permit, legally allowing the ADU to be inhabited.
Sustainable and Eco-friendly ADU Construction: Integrating Green Practices
As we progress in our understanding of environmental impact, incorporating sustainable practices into ADU construction has become increasingly important. This section explores how to make your ADU not just a living space, but a testament to eco-friendly design and construction.
Green Building Materials: Sustainable Foundations
Selecting environmentally responsible materials is crucial for sustainable ADU construction. Consider these options:
- Recycled Steel: Offers durability and reduces demand for new raw materials
- Bamboo: A rapidly renewable resource with excellent strength-to-weight ratio
- Reclaimed Wood: Provides character while reducing deforestation
- Alternative Concrete: Such as hempcrete or recycled aggregate concrete
While green materials may have a higher upfront cost, they often lead to long-term savings and reduced environmental impact.
Energy-Efficient Design Principles: Optimizing Performance
Implementing energy-efficient design can significantly reduce your ADU’s carbon footprint:
- Passive Solar Design: Optimize building orientation and window placement
- Natural Ventilation: Strategically placed windows and vents for air circulation
- High-Performance Insulation: Minimize heat transfer and reduce energy needs
- Energy-Efficient Windows: Utilize double or triple-pane windows with low-E coatings
These principles work together to create a comfortable living environment while minimizing energy consumption.
Water Conservation Techniques: Preserving a Vital Resource
Water conservation is critical in sustainable design. Consider implementing:
| Technique | Function | Benefits |
|---|---|---|
| Low-Flow Fixtures | Reduce water usage | Lower utility bills, conserve water |
| Dual-Flush Toilets | Provide flush options | Significant water savings over time |
| Greywater Systems | Recycle household water | Reduce freshwater demand for non-potable uses |
| Rainwater Harvesting | Collect and store rainwater | Decrease reliance on municipal water supply |
These systems not only conserve water but can also lead to substantial savings on water bills over time.
Solar Power Integration: Harnessing Renewable Energy
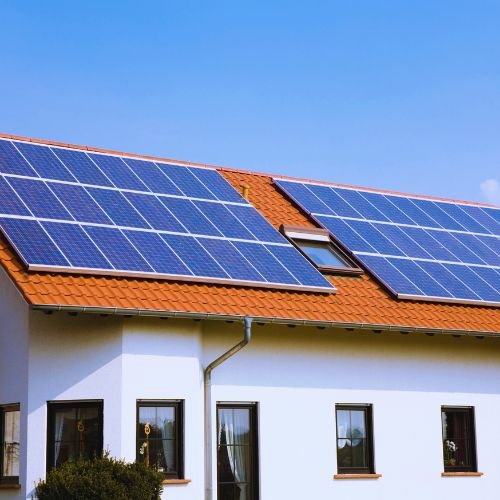
Incorporating solar power into your ADU design can provide numerous benefits:
- Rooftop Solar Panels: Generate electricity for the ADU and possibly the main residence
- Solar Water Heaters: Reduce energy costs for water heating
- Solar-Powered Exterior Lighting: Enhance security without increasing electricity usage
While the initial investment in solar technology can be significant, it often results in long-term energy savings and increased property value.
Sustainable Landscaping: Extending Green Practices Outdoors
The exterior of your ADU presents additional opportunities for sustainable practices:
- Native Plant Species: Require less water and maintenance
- Xeriscaping: Reduces or eliminates the need for supplemental irrigation
- Permeable Pavements: Allow water to percolate into the ground, reducing runoff
- Composting Area: Recycle organic waste and create nutrient-rich soil for gardening
Sustainable landscaping not only enhances the eco-friendliness of your property but can also reduce maintenance costs and water usage.
Financing Your ADU Project: Navigating the Financial Landscape
Let’s dive into the crucial aspect of financing your ADU project. While building an accessory dwelling unit can be a valuable investment, it’s essential to approach the financial side with careful planning and consideration.
Estimating Total Costs: Breaking Down the Budget
To start, let’s outline the primary costs associated with ADU construction:
- Construction costs: Typically range from $100-$500 per square foot, depending on location and specifications
- Permit fees: Generally between $5,000-$15,000, varying by jurisdiction
- Utility connections: Expect to allocate $5,000-$10,000 for water, sewer, and electrical hookups
- Design and engineering: Budget $3,000-$8,000 for professional services
- Contingency fund: Add 10-20% to your total budget for unexpected expenses
Pro tip: It’s always wise to overestimate your budget slightly. This buffer can help absorb unforeseen costs without derailing your project.
Financing Options: Exploring Available Avenues
Consider these popular financing methods for your ADU project:
| Financing Option | Advantages | Considerations |
|---|---|---|
| Home Equity Loan | Lower interest rates, tax-deductible interest | Uses home as collateral |
| Cash-Out Refinance | Potential for lower overall mortgage rate | Resets mortgage term |
| Construction Loan | Specifically designed for building projects | Can be more complex to navigate |
| Personal Savings | No debt incurred | May deplete emergency funds |
Each option has its merits; the best choice depends on your financial situation and long-term goals.
Government Programs and Incentives: Leveraging Available Support
Many jurisdictions offer programs to encourage ADU development:
- FHA 203(k) Loan: Combines home purchase/refinance with renovation costs
- Local ADU Incentive Programs: Some cities offer fee reductions or expedited permitting
- Energy Efficiency Rebates: Available for implementing green building practices
Research local and state programs thoroughly, as they can significantly reduce your overall costs.
Return on Investment Considerations: Long-Term Financial Impact
When evaluating the financial implications of your ADU, consider these potential returns:
- Rental Income: An ADU can provide a steady stream of additional income
- Increased Property Value: ADUs often boost overall property values
- Future Flexibility: Provides options for multigenerational living or changing life circumstances
View your ADU as a versatile investment that can adapt to your needs over time.
Legal and Operational Considerations: Ensuring Compliance and Smooth Operations
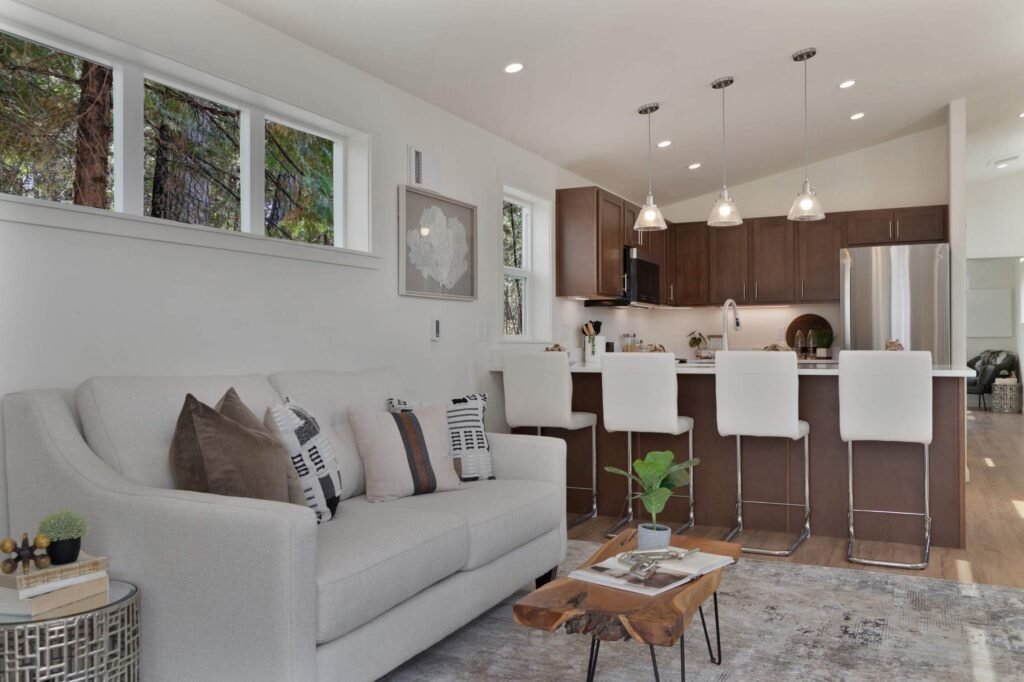
As we approach the final stages of your ADU journey, it’s crucial to address the legal and operational aspects of owning an accessory dwelling unit. While these considerations might seem less exciting than the design and construction phases, they are essential for the long-term success and compliance of your ADU project.
Rental Agreements and Regulations: Navigating Tenancy Laws
If you plan to rent out your ADU, familiarize yourself with these key elements:
- Lease Agreements: Craft comprehensive, legally-sound contracts
- Local Rental Regulations: Research and comply with city-specific rental laws
- Fair Housing Act: Ensure adherence to federal anti-discrimination housing laws
Consider consulting with a real estate attorney or property management professional to ensure full compliance with all applicable regulations.
Tax Implications: Understanding Financial Responsibilities
An ADU can have several tax implications that you should be prepared for:
| Tax Consideration | Impact | Notes |
|---|---|---|
| Property Tax Adjustments | Potential increase due to added value | Varies by jurisdiction |
| Rental Income Taxation | Additional income may be taxable | Report on Schedule E |
| Possible Deductions | Some ADU-related expenses may be deductible | Consult a tax professional |
It’s advisable to work with a tax professional who can guide you through the specific tax implications for your situation.
Insurance Considerations: Protecting Your Investment
Proper insurance coverage is crucial for protecting your ADU investment:
- Homeowners Insurance Update: Inform your insurer about the ADU addition
- Landlord Insurance: Essential if renting out the ADU
- Liability Coverage: Consider increased coverage for potential risks
Consult with your insurance agent to ensure comprehensive coverage that accounts for all aspects of your ADU.
Property Value Impact: Assessing Long-Term Benefits
Understanding how building an ADU affects your property value is important for future planning:
- Increased Square Footage: Generally translates to higher property value
- Rental Income Potential: Can make your property more attractive to future buyers
- Neighborhood Comparables: May positively influence your property’s market position
Keep detailed records of all ADU-related improvements and expenses, as these can be valuable for future appraisals or sales.
DIY vs. Professional ADU Construction: Weighing Your Options
When embarking on your ADU project, one of the most significant decisions you’ll face is whether to take the DIY route or hire professional contractors. Both approaches have their merits and challenges, and the right choice depends on your specific circumstances, skills, and resources.
Pros and Cons: A Comparative Analysis
Let’s examine the advantages and disadvantages of each approach:
DIY Approach:
- Pros:
- Potential for cost savings on labor
- Greater control over the project
- Personal satisfaction and skill development
- Cons:
- Significant time investment required
- Steep learning curve for construction skills
- Increased risk of errors and delays
Professional Construction:
- Pros:
- Expertise and experience in construction
- Time-efficient project completion
- Guaranteed quality and adherence to building codes
- Cons:
- Higher upfront costs
- Less hands-on involvement for the homeowner
- Dependent on contractor availability
Cost Comparison: Financial Implications
Let’s break down the potential costs:
| Aspect | DIY | Professional |
|---|---|---|
| Labor Costs | Minimal (your own time) | Significant portion of budget |
| Materials | Variable (depends on sourcing) | Often at trade prices |
| Tools | Investment required | Included in labor costs |
| Time Investment | Substantial | Minimal for homeowner |
While DIY can offer upfront savings, it’s important to factor in the value of your time and the potential for costly mistakes.
Time Investment Analysis: Project Timeline Considerations
Typical project timelines:
- DIY:
- Research and planning: 2-3 months
- Construction: 6-12 months (or more)
- Total: 8-15 months
- Professional:
- Hiring and planning: 1-2 months
- Construction: 3-6 months
- Total: 4-8 months
The DIY approach typically requires a significantly longer time commitment, which may impact your daily life and other responsibilities.
Quality and Longevity Considerations: Ensuring Durability
Professional contractors generally offer:
- Years of specialized experience
- Access to professional-grade tools and materials
- In-depth knowledge of building codes and best practices
While dedicated DIYers can achieve high-quality results, it often requires extensive research, careful execution, and a willingness to learn from mistakes.
When to Consider Hiring Professionals: Recognizing Limitations
Consider professional help for:
- Complex systems (electrical, plumbing, HVAC)
- Structural work
- Projects with tight timelines
- Areas where local regulations require licensed professionals
It’s important to honestly assess your skills and available time when making this decision.
Embarking on Your ADU Journey
As we conclude our comprehensive guide to Accessory Dwelling Units, it’s clear that the journey of creating an ADU is both exciting and rewarding. We’ve covered a wide range of crucial aspects, equipping you with all the details and knowledge to make informed decisions about your project.
Let’s recap the key areas we’ve explored:
- Navigating local zoning laws and regulations
- Understanding financing options and budgeting considerations
- Exploring design possibilities and sustainable practices
- Weighing the pros and cons of DIY versus professional construction
Remember, an ADU is more than just an addition to your property – it’s an investment in your future. Whether you’re aiming to provide housing for family members, generate rental income, or increase your property’s value, an ADU offers versatile solutions to meet your needs.
As you move forward, consider how each aspect we’ve discussed applies to your unique situation. Take the time to thoroughly plan and prepare, ensuring that your ADU project aligns with your goals and complies with local requirements.
Ready to transform your ADU vision into reality? True-Blue Construction is here to help. Our experienced team can guide you through every step of the process, from initial design to final inspection. Let’s work together to create an ADU that enhances your property and lifestyle. Contact True-Blue Construction today to schedule a consultation and take the first step towards your ADU project.
We wish you success as you embark on this exciting journey of ADU development!
Additional Resources
To further assist you in your ADU project, here are some valuable resources:
Local ADU Guidelines and Resources
- Check your city’s planning department website for specific ADU regulations
- Read up on HUD’s ADU codes for federal guidelines
Recommended Reading
- “Backdoor Revolution: The Definitive Guide to ADU Development” by Kol Peterson (on Amazon)
- “In-Laws, Outlaws, and Granny Flats” by Michael Litchfield (on Amazon)
Professional Associations
- American Institute of Architects (AIA): www.aia.org
- National Association of Home Builders (NAHB): www.nahb.org
Online Tools
- ADU cost calculators
- Virtual design software for space planning
These resources will provide additional insights and support as you navigate your additional dwelling unit, from initial planning to final construction.
Can I Build My Own ADU: Frequently Asked Questions
1. What is the average cost to build an ADU yourself?
DIY ADU construction costs typically range from $100 to $300 per square foot. Total costs vary based on size, materials, and location.
2. How long does it typically take to construct a DIY ADU?
DIY ADU construction usually takes 6-12 months, depending on your experience, available time, and project complexity.
3. Do I need special skills or experience to build my own ADU?
While helpful, special skills aren’t always necessary. However, you’ll need to learn about construction techniques, building codes, and safety practices.
5. Can I use prefab or modular construction for my ADU project?
Yes, prefab and modular options are available for ADUs, often reducing on-site construction time and complexity.
True-Blue Construction offers pre-built and pre-inspected modular ADU units!
6. How do I determine if my property is suitable for an ADU?
Consider:
- Local zoning laws
- Available space
- Setback requirements
- Utility access
- Topography
8. How can I maximize the rental income potential of my DIY ADU?
- Focus on high-quality finishes
- Ensure energy efficiency
- Create functional, attractive layouts
- Research local rental markets for competitive pricing
9. What are the energy efficiency requirements for new ADU construction?
Requirements vary by location but often include:
- Insulation standards
- Energy-efficient windows and doors
- HVAC efficiency ratings
- Water conservation measures
10. How do I navigate the permitting process for a self-built ADU?
- Research local zoning and building codes
- Prepare detailed construction drawings
- Submit all required documentation
- Be prepared for potential revisions and inspections
11. Are there any tax benefits to building my own ADU?
Potential tax benefits include:
- Property value increase deductions
- Rental income deductions (if applicable)
- Energy efficiency tax credits
12. What financing options are available for DIY ADU projects?
- Home equity loans
- Cash-out refinancing
- Construction loans
- Personal savings
- Government-backed renovation loans (e.g., FHA 203(k))
14. Can I convert an existing structure like a garage into an ADU myself?
Yes, garage conversions are common DIY ADU projects. Ensure you comply with local regulations regarding conversions and meet all building code requirements.
We hope you enjoyed our step by step guide!
Feel like you might need help from an experienced ADU contractor? There’s no shame in hiring a project manager! Reach out to us here to get some help!
